 Normal View from Native Camera App
Using olloclip’s Telephoto Lens
“Why don’t my pictures look like that one?”
Do you see beautiful, captivating landscape photos online and ask yourself this question? Ever? I know I did and actually still do. Well, there's good news: According to iPhone Photography School’s Emil Pakarklis, taking landscape photos with your smartphone doesn't have to be a horrific experience anymore. With so many advancements in smartphone camera hardware, capturing those landscape images are not unattainable. Granted, I will be the first one to tell you getting that image of Mt. Everest in perfect detail with a time-lapsed starry sky will not happen just using your smartphone. The camera sensor in the phone is just too small to allow sufficient light in. Also, the phone cannot zoom the image without pixelating and blurring out. By the way, speaking of zooming in… sound advice I received is “do not do it.” Resist the temptation to ‘pinch zoom’ with your fingers to get a ‘close-up’ of that landscape or other subject. Physically step closer to your subject and crop the photo later. This method will preserve photo detail when post-processing and also save your sanity! So how do you get that picture-perfect landscape that has all the details you saw when you snapped the shutter? I will suggest three steps that have helped me take some pretty cool landscape photos with my smartphone. When we're done you'll know exactly how to take a landscape photograph with your smartphone that gets people excited and wanting to visit where you have been. Ready? Let's go!
Steps to Taking Amazing Landscape Photos with your Smartphone
Visit your favorite spot where you feel happy, excited, and peaceful or however that destination makes you feel and want to preserve the view for memories or sharing with your friends and family. When you capture a picture of beautiful scenery in front of you, you may be faced with blurry, dark, tilted, and off-center images, killing any sense of attraction to the scene you may have felt. With the right tools and instructions at your disposal, you could easily capture that gorgeous landscape lying before you, entirely on screen and produce a stellar photograph from it - all without expensive equipment, multiple lenses, fancy gadgets, cumbersome setups, or lifting weights! (At least for this part of the process) ☺ First, look around you and take in what you see.
 1. Explore what you see
Before you start diving into pushing the shutter button, you need to explore the scene.
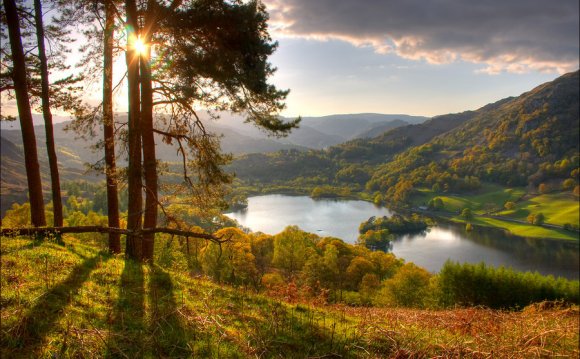
• How does sunlight or other light sources affect what you see on your phone screen? Light is your best friend for shooting any type of photograph, period. Without the proper light, the camera sensor will not properly capture the scene. This is especially true with smartphone cameras. Their sensors are just too small. Does this prevent you from taking beautiful landscape photos? Absolutely not! The phone’s native camera app and other standalone camera replacement apps now allow for adjusting exposure to either lighten or darken the scene. Just remember, without the light the photo may not be right. May I suggest two special times of day to take amazing photos where the light is so golden you can taste it? Those times are within one hour after sunrise and one hour before sunset. Known as the 'Golden Hour', this time allows for naturally diffused, beautiful sunlight bathing your subjects in filtered majesty. There will be other conditions during the day which you can use to your advantage. Overcast, cloudy days are good for capturing subject detail. Avoiding harsh sunlight is key to preventing blowing out or over-exposing your scene. In addition to getting the best light possible, your position or angle is also critical for taking that special shot.


